Cleaning Your Coffee Maker With Hydrogen Peroxide Safely
Hydrogen peroxide can break down coffee oils and film inside your coffee maker, but it is not a substitute for a proper descaling solution — and using it wrong can leave a chemical aftertaste in your next brew. The safe method is to use a diluted solution (roughly 1 part 3% hydrogen peroxide to 2 parts water), run it through a full brew cycle, then follow with two or three plain water cycles to flush every trace out of the internal lines. If your machine has a visible water reservoir, you can also use the solution to soak and scrub that component directly.
Below is the full process, including what to avoid, how to check that your machine is truly clean, and when to stop and use a commercial descaler instead.
What Hydrogen Peroxide Actually Cleans
Hydrogen peroxide is an oxidizer. When it contacts organic residue — coffee oils, old grounds, film inside the reservoir — it breaks them down into water and oxygen gas. That’s why you’ll see fine bubbles during the cycle; that’s the peroxide actively working on the buildup.
What it does not do well is dissolve hard water scale (calcium and limescale). For that, you need an acid — citric acid, acetic acid (vinegar), or a dedicated descaling solution. If your coffee maker is slow to brew or sputtering, that’s usually scale, not oil buildup. Hydrogen peroxide won’t fix that, and you’ll waste a cycle.
The practical rule: Use hydrogen peroxide when your coffee tastes bitter or stale despite regular cleaning, or when you can see film in the reservoir. Use a descaler when the machine is slow, loud, or producing weak coffee.
What You’ll Need
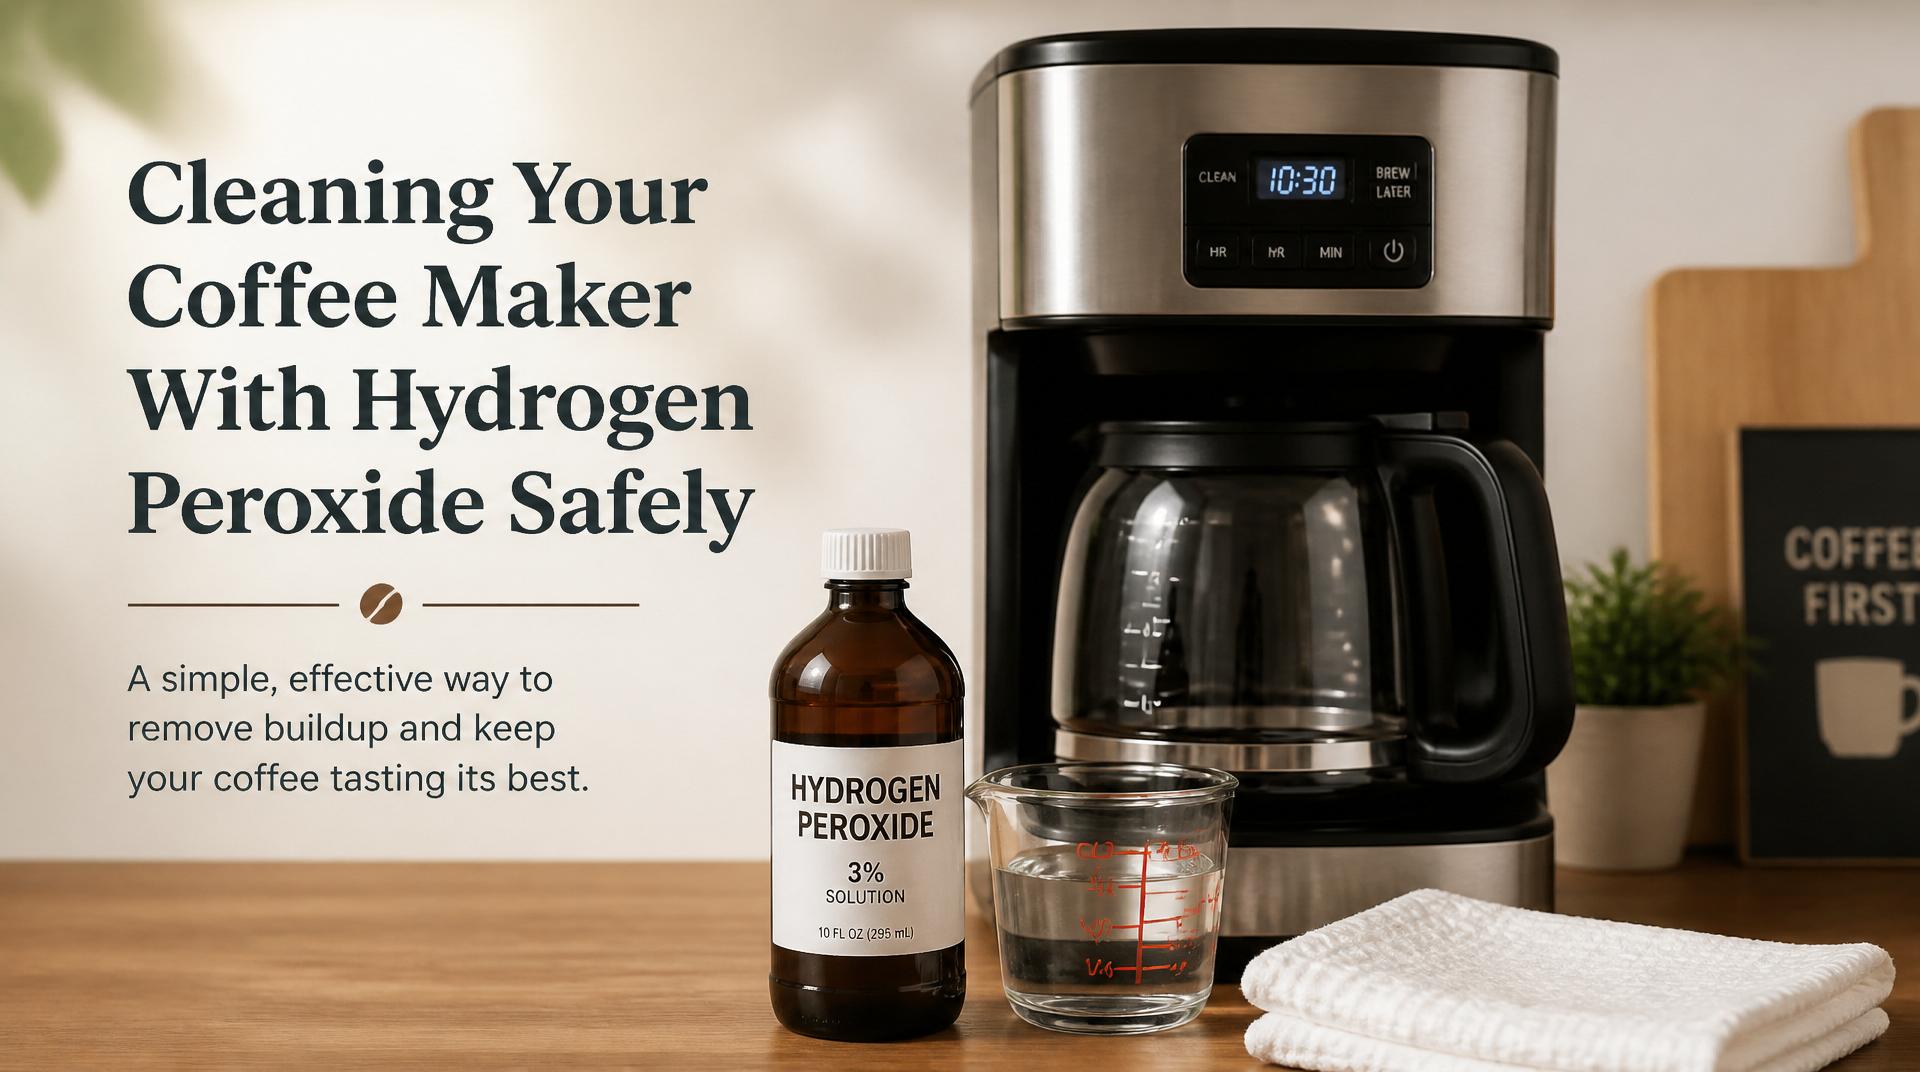
- 3% hydrogen peroxide (the standard brown-bottle pharmacy kind — do not use food-grade 35% or any higher concentration)
- Fresh water
- A clean cloth or sponge
- Your coffee maker’s removable parts (carafe, filter basket, reservoir if detachable)
Skip the bleach, skip the soap inside the internal lines. Soap leaves residue that foams in the next brew. Hydrogen peroxide breaks down into water and oxygen, which is why it’s the safer DIY option — but only at the right dilution.
Step-by-Step: The Safe Cleaning Cycle
Step 1: Prep the Machine
Unplug the coffee maker. Remove the filter basket, carafe, and any detachable reservoir. Wash these by hand with warm soapy water, rinse thoroughly, and set them aside. Do not put them through the cleaning cycle — they don’t need it, and the peroxide solution is for the internal lines only.
Step 2: Mix the Solution
In the carafe (or a measuring cup), mix:
- 1 part 3% hydrogen peroxide
- 2 parts water
For a standard 12-cup machine, that’s roughly 2 cups of peroxide to 4 cups of water. Pour the mixture into the water reservoir.
Do not heat hydrogen peroxide. It breaks down faster when heated, which means it loses cleaning power before it reaches the internal lines. Always run it through a cold or room-temperature cycle — not a brewing cycle with the heating element active.
Step 3: Run a Partial Cycle
Start the brew cycle but stop it halfway through — after about half the solution has passed through. Turn the machine off and let the solution sit in the internal lines for 15–20 minutes. This dwell time is what actually dissolves the oils. A straight pass-through without pausing will only clean the surface, not the lines.
Step 4: Finish the Cycle
Turn the machine back on and let the remaining solution finish running through into the carafe. Discard the liquid.
Step 5: Flush, Flush, Flush
Fill the reservoir with fresh water and run a full brew cycle. Discard. Repeat this two more times — three total water-only cycles.
Why three? Hydrogen peroxide has a slightly metallic taste that lingers even at low concentrations. A single rinse won’t remove it from the internal tubing. If you skip this step, your next cup will taste flat and chemical. This is the most common failure point in DIY cleaning.
Step 6: Wipe Down the Exterior
While the machine is unplugged, use a damp cloth with a small amount of hydrogen peroxide to wipe the exterior surfaces, the warming plate, and the lid of the reservoir. This removes coffee splatter and fingerprints. Dry with a clean cloth.
How to Check the Cleaning Actually Worked
The smell test: After the final rinse, open the reservoir lid and sniff. You should smell nothing — no peroxide, no vinegar-like tang. If you detect anything, run one more water cycle.
The taste test: Brew a small cup of plain hot water (no coffee). Let it cool slightly and taste it. It should taste like nothing. If it tastes metallic or sharp, flush again.
The visual test: Look at the water that came through in the first flush. It should have been slightly cloudy or tinted brown — that’s the dissolved coffee oil. If the first flush came out crystal clear, your machine was already fairly clean, and you can shorten future cleanings to a single peroxide cycle.
The One Thing People Miss: The Exit Needle and Spray Head
Most coffee maker cleaning guides focus on the reservoir and internal lines, but the exit needle (the small metal or plastic nozzle where water drips into the filter basket) is where old coffee oils concentrate. Over time, it can partially clog, causing uneven water distribution and weak coffee.
To check it: After the cleaning cycle, remove the filter basket and look at the underside of the brew head. If you see a dark ring or crusty buildup around the needle opening, use a paperclip or a dedicated cleaning pin to gently poke through the opening. Do this while the machine is unplugged and cool. Then run one more water-only cycle to flush any dislodged debris.
When to Stop and Use a Commercial Descaler Instead
Hydrogen peroxide is a maintenance cleaner, not a deep descaler. Switch to a commercial descaling solution (or a citric acid mix) if you notice:
- Slow brewing — a full pot taking noticeably longer than when new
- Loud gurgling or sputtering during the brew cycle
- White or chalky residue visible in the reservoir or on the heating plate
- Coffee tasting weak or flat despite fresh beans and a clean filter
These are all signs of mineral scale, which peroxide won’t touch. Running peroxide cycles at this point is wasted effort — you’ll think you cleaned the machine, but the scale remains, and the performance issues will persist.
For Keurig and other pod machines, the same logic applies: hydrogen peroxide can clean the internal lines and needle, but if the machine is slow to brew or the water stream is uneven, run a descaling cycle with a product like Keurig’s own descaler or a citric acid solution instead.
How Often Should You Do This?
For most home coffee makers, once every 1–2 months is reasonable if you brew daily. If you use dark roasts or oily beans, lean toward monthly — those beans deposit more residue. If you only brew a few times a week, every 2–3 months is fine.
You’ll know it’s time when the coffee starts tasting slightly bitter or stale even with fresh grounds. That’s the first sign of oil buildup — and it’s exactly what hydrogen peroxide removes best.
Safety Rules That Matter
Hydrogen peroxide at 3% concentration is safe for coffee maker components when diluted and thoroughly rinsed. The two hard rules are: never use a higher concentration (it can damage plastic and rubber seals), and never skip the three rinse cycles (the aftertaste is real and unpleasant).
If you follow the dilution and the flush schedule above, your next pot should taste clean and neutral. If it doesn’t — or if the machine is brewing slowly — skip the peroxide and go straight to a descaling solution. Different problems need different cleaners, and knowing which one to reach for is the difference between a clean machine and a wasted afternoon.
<!– cluster-navigation –>
Explore This Topic
- Back to [Cleaning & Care(https://coffeemachinede.com/cleaning-cycle/)
Related guides in this cluster: