
Troubleshooting Leaks in Your Bunn Coffee Maker
Quick answer
- Leaks usually come from the water reservoir, a loose connection, or a worn-out seal.
- Check the water level first; overfilling is a common culprit.
- Inspect all hose connections and fittings for tightness.
- Look for visible cracks or damage on the reservoir itself.
- A worn-out brew basket seal can cause drips during brewing.
- Regular cleaning and descaling prevent many seal and connection issues.
What this problem usually is (and is not)
- This is usually a straightforward issue with a visible source, not a complex internal failure.
- It’s rarely a sign of a major electrical problem; leaks are almost always water-related.
- Don’t assume the worst. Most leaks are fixable with basic maintenance.
- We’re talking about water escaping where it shouldn’t, not steam. Steam is a different beast.
- This guide focuses on common drip or stream leaks, not a geyser.
Likely causes (triage list)
Water Reservoir Issues
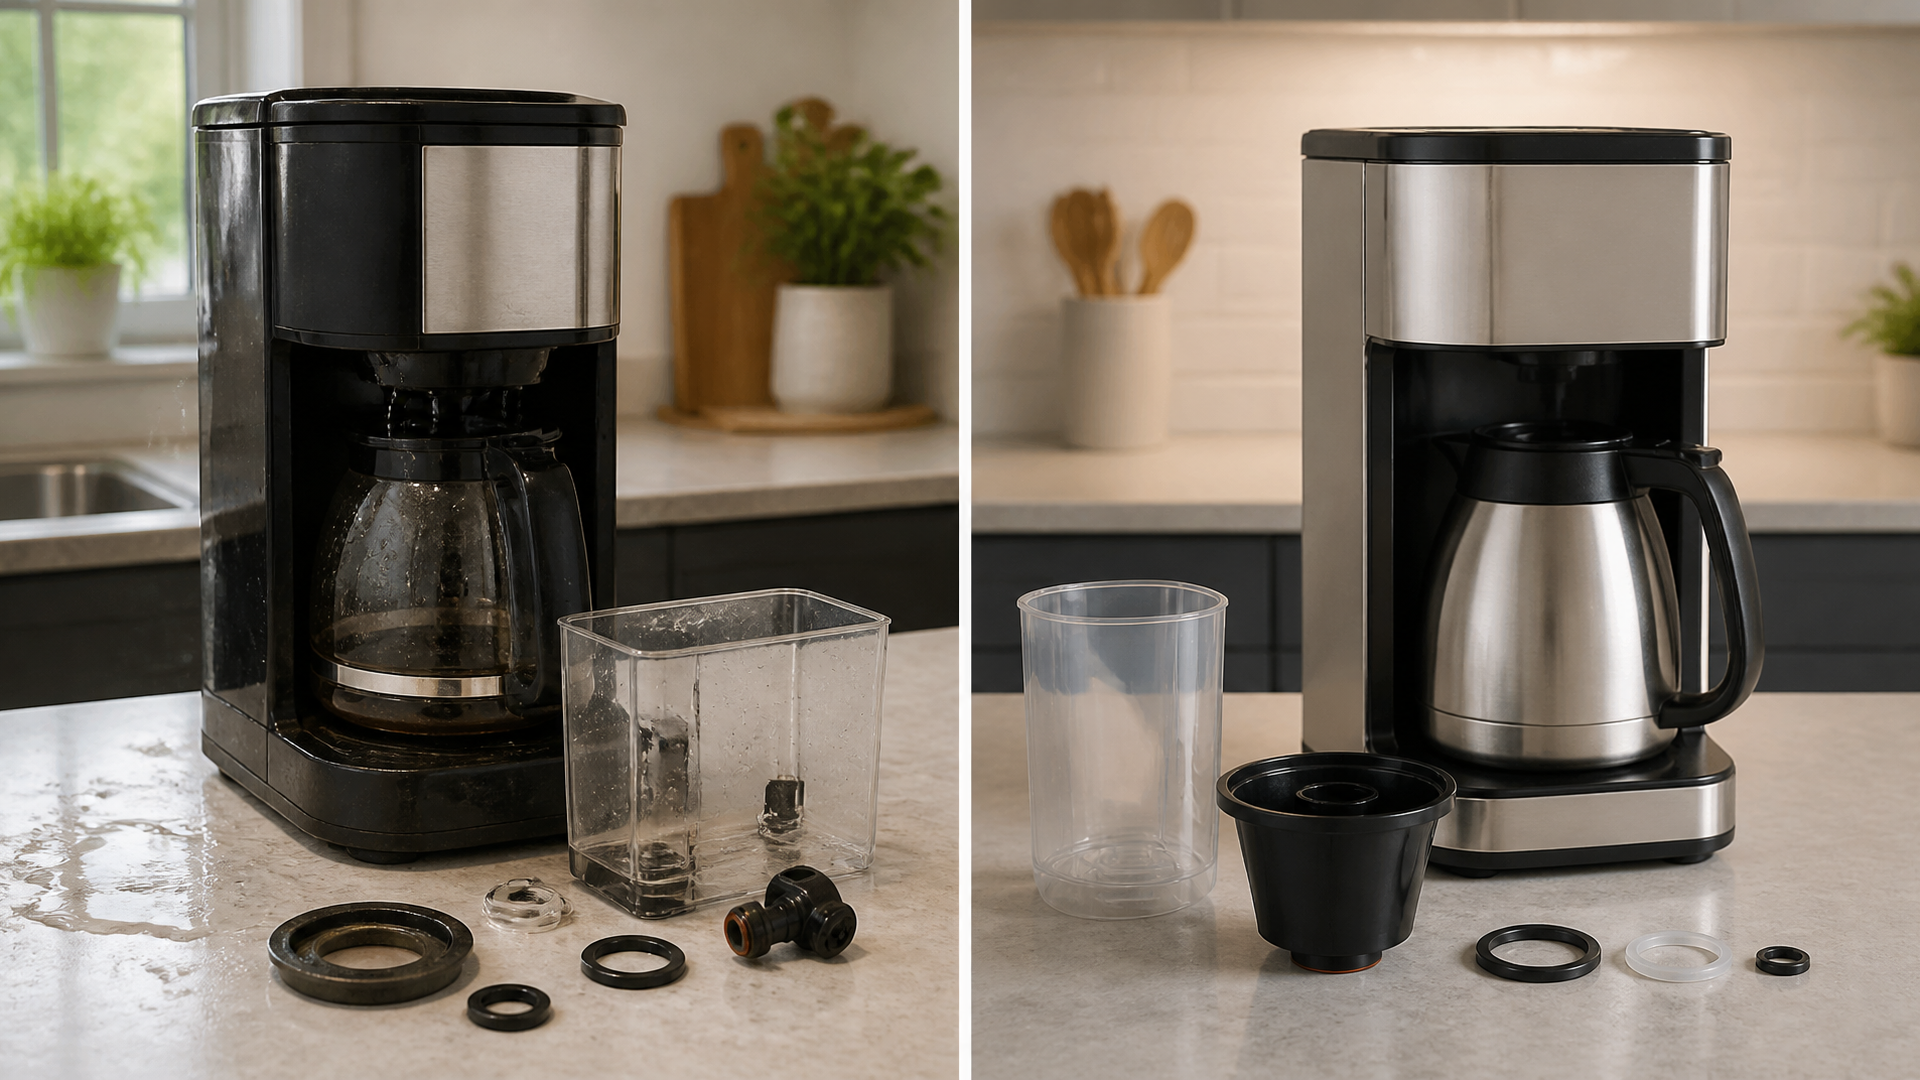
- Low Reservoir Seal: The gasket where the reservoir connects to the machine might be old or damaged. Check for cracks or a flattened appearance.
- Cracked Reservoir: The plastic reservoir itself could have a hairline fracture. Look closely, especially around the base and connection points.
- Overfilling: Simply put, too much water in the tank. It has to go somewhere.
If you suspect a worn-out seal or a cracked reservoir, you might need to replace these Bunn coffee maker parts.
OCS Parts High Flow Stainless Steel Replacement Spray Head | Replaces Bunn 01082.0003 Spray Head on Bunn Coffee Machines and Hot Beverage Dispensers (7-Hole)
- High quality construction: Made from industrial grade stainless steel, providing a durable, rust-resistant spray head for a superior coffee brewing experience. Replace our original plastic spray head with our stainless steel version for a longer-lasting, quality coffee experience.
- Direct replacement: This is designed to fit seamlessley with GR (GRX), BX, and BT (BTN) series coffee makers.
- High flow functionality: Features 7 spray holes for maximum brewing efficiency while preventing filter overflows.
- Easy to Clean: Its distinctive silver finish aids in quickly locating it in coffee grounds if dislodged from the machine, promoting cleanliness and a hygienic brewing process.
- OCS Parts Assured Quality: At OCS parts, our products undergo meticulous examination to ensure unmatched performance and reliability. Trust OCS Parts for genuine, direct sourcing, and secure packaging, delivering a product that meets the highest standards of quality and customer satisfaction.
Connection and Hose Problems
- Loose Fittings: The water line connecting to the machine, or internal hoses, might have vibrated loose. Gently tug on visible hoses and fittings.
- Damaged Hoses: Hoses can degrade over time, becoming brittle or developing small splits. Inspect them for any signs of wear.
Brew Basket and Carafe Seals
- Worn Brew Basket Gasket: The seal around the brew basket can wear out, allowing coffee to seep around the edges. This is common on older machines.
- Carafe Lid Seal: If the carafe lid isn’t sealing properly, hot coffee can splash or drip from the spout. Check the lid’s condition.
Machine Setup and Condition
- Uneven Surface: If the machine isn’t sitting level, water can pool and find its way out. Give it a wiggle.
- Scale Buildup: Mineral deposits can sometimes interfere with seals and connections, forcing water to escape. This is why descaling is key.
Fix it step-by-step (brew workflow)
1. Unplug the Machine: Safety first. Always disconnect power before poking around.
- Good: Machine is completely dead.
- Mistake: Trying to fix a leak while it’s still plugged in. Seriously, don’t do that.
2. Empty and Dry: Remove any remaining water from the reservoir and carafe. Wipe down the exterior.
- Good: A clean, dry workspace.
- Mistake: Working on a wet, slippery machine. You’ll miss the leak source.
3. Inspect the Reservoir: Carefully examine the water reservoir for any cracks or damage.
- Good: Reservoir looks solid and intact.
- Mistake: Not looking closely enough. Tiny cracks are hard to spot but can still leak.
4. Check Reservoir Seal: If your reservoir has a removable seal or gasket, inspect it for wear, tears, or flattening.
- Good: Seal is pliable and looks good.
- Mistake: Assuming the seal is fine without a close look. These wear out.
5. Examine Hose Connections: Trace any visible water lines and connections. Gently check if they are securely attached.
- Good: All connections feel snug and don’t wiggle.
- Mistake: Forcing connections or overtightening. You can crack plastic.
6. Inspect Brew Basket: Remove the brew basket and check the rubber seal around its base. Look for cracks or hardening.
- Good: Seal is flexible and free of damage.
- Mistake: Ignoring the brew basket seal. It’s a frequent leak point.
7. Test Water Level: Fill the reservoir to just below the “max” line. Don’t go over.
- Good: Water level is within the recommended range.
- Mistake: Filling it to the brim. It’s asking for trouble.
8. Run a Test Brew (Carefully): Plug the machine back in. Run a short brew cycle with just water.
- Good: No visible leaks during the brew.
- Mistake: Rushing the test and not watching closely for drips.
9. Observe During Brew: Watch the machine from all angles during the test brew. Where does the water appear?
- Good: You can pinpoint the exact location of the leak.
- Mistake: Not paying attention. You’ll be back to square one.
10. Tighten or Replace: If you found a loose connection, gently tighten it. If a part (like a seal or reservoir) is damaged, it needs replacement.
- Good: The problematic part is fixed or replaced.
- Mistake: Trying to patch a damaged part. It’s usually a temporary fix at best.
11. Clean Thoroughly: Once fixed, give the machine a good cleaning to remove any residual water or coffee grounds that might have been displaced.
- Good: Machine is clean and leak-free.
- Mistake: Leaving a mess behind. It can attract pests or cause future issues.
Prevent it next time
- Clean Regularly: Wipe down the exterior and brew basket after each use.
- Descale Monthly: Use a descaling solution or vinegar to remove mineral buildup. Check your manual for specifics.
- Use Filtered Water: This reduces scale buildup significantly.
- Store Water Properly: Keep your filtered water in a clean, sealed container.
- Don’t Overfill: Always stay below the max fill line on the reservoir.
- Inspect Seals Periodically: Give your brew basket and reservoir seals a quick once-over every few months.
- Ensure Level Surface: Make sure your coffee maker sits on a stable, flat counter.
- Handle with Care: Avoid banging or dropping the machine, which can loosen internal parts.
Common mistakes (and what happens if you ignore them)
| Mistake | What it causes | Fix |
|---|---|---|
| Ignoring small drips | Minor leaks can worsen over time | Address the leak immediately, even if it seems small. |
| Overfilling the water reservoir | Water spills out the top or sides of the machine | Fill only to the indicated max line. |
| Using tap water | Rapid scale buildup, affecting seals and flow | Use filtered or bottled water. |
| Skipping regular descaling | Clogged lines, weakened seals, poor brew quality | Follow a descaling schedule (monthly is a good start). |
| Forcing connections | Cracked plastic parts or stripped threads | Gently tighten connections; if it resists, something is wrong. |
| Not checking the brew basket seal | Coffee grounds and liquid leak around the basket | Inspect and replace the seal if it’s worn or damaged. |
| Leaving grounds in the basket | Can clog drainage and cause overflow | Always remove and rinse the brew basket after each use. |
| Not unplugging before work | Risk of electric shock or damaging the machine | Always disconnect power before any maintenance or cleaning. |
| Not testing after a fix | Believing the problem is solved when it’s not | Run a test brew with water to confirm the leak is gone. |
| Using old, stale coffee | Can lead to clogs and uneven brewing (less likely leak cause, but related) | Use fresh coffee beans or grounds for best results. |
Decision rules (simple if/then)
- If water is leaking from the top of the machine, then check the reservoir fill level and the reservoir seal because overfilling or a bad seal will cause overflow.
- If water is leaking from the base of the brew basket, then inspect the brew basket seal and ensure it’s properly seated because a worn or misplaced seal is the most common cause.
- If water is leaking from the back or sides of the machine, then check all visible hose connections and fittings for tightness because vibrations can loosen them over time.
- If you see a crack in the plastic water reservoir, then replace the reservoir immediately because a cracked reservoir will always leak.
- If you’ve recently descaled and are now leaking, then re-check all connections as descaling can sometimes dislodge loose fittings.
- If the leak only happens during brewing, then focus your inspection on the brew basket, carafe, and internal water pathways because that’s when water pressure is highest.
- If the leak happens when the machine is just sitting there, then it’s likely a problem with the water reservoir, its seal, or a main water line connection.
- If you’ve tried everything and it’s still leaking, then it might be time to contact Bunn support or a qualified appliance repair person because there could be a less obvious internal issue.
- If the machine is sitting on an uneven surface, then level the machine and see if the leak stops because an uneven tilt can cause water to pool and escape.
- If the leak is a slow drip and your machine is older, then consider replacing worn seals (brew basket, reservoir) as they degrade with age and use.
FAQ
Q: My Bunn coffee maker is leaking from the carafe spout. What’s wrong?
A: This is usually a problem with the carafe lid. Make sure it’s properly attached and the seal is intact. If the lid is damaged, you’ll need to replace it.
Q: I see water pooling under my Bunn coffee maker. Where do I start?
A: Start by unplugging the machine and checking the water reservoir for cracks or overfilling. Then, inspect all visible hose connections.
Q: How often should I descale my Bunn coffee maker?
A: For most Bunn models, descaling monthly is a good practice, especially if you have hard water. Check your specific model’s manual for recommendations.
Q: Can I use vinegar to descale my Bunn coffee maker?
A: Many Bunn models can be descaled with a vinegar and water solution. However, always consult your owner’s manual for the manufacturer’s recommended cleaning method.
Q: My Bunn coffee maker leaks only when it’s brewing. What’s the most likely cause?
A: This points to an issue with the brew basket area or the internal pathways that deliver water to it. Check the brew basket seal and make sure the basket is seated correctly.
Q: I replaced a part, but my Bunn coffee maker is still leaking. What now?
A: Double-check that you used the correct replacement part and installed it properly. If the leak persists, there might be another underlying issue, or a different part needs attention.
Q: Is it safe to use my Bunn coffee maker if it’s leaking a little?
A: It’s best to address any leak promptly. Small leaks can become bigger problems, and water near electrical components can be a safety hazard.
See also: Keeping Your Nuvera Coffee Maker Clean For Optimal Performance.
See also: Troubleshooting Eo Error On Your Cuisinart Coffee Maker.
See also: Troubleshooting Your Coffee Maker Isnt Working.
What this page does NOT cover (and where to go next)
- Specific Part Numbers for Replacement: This guide covers troubleshooting, not ordering specific Bunn parts. Check Bunn’s website or a parts supplier.
- Complex Internal Repairs: If the leak appears to be from deep within the machine’s sealed components, it might require professional service.
- Electrical Troubleshooting: This guide focuses solely on water leaks. If you suspect electrical issues, consult a qualified technician.
- Advanced Brewing Techniques: We’re focused on leaks, not how to get the perfect bloom or grind size.
- Troubleshooting Other Brands: This guide is specific to Bunn coffee makers. Other brands have different designs and common issues.